Note: all configurations are open only for Admins and Account Owners only.
Connecting google form works by sending the form responses to leads@flash-lead.com in a specific format.
STEP1: Flash Lead Part
1. Go to Configurations
2. Open Form & Web Connection
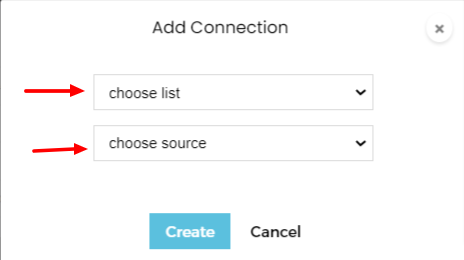
3. Click on “Add Connection”
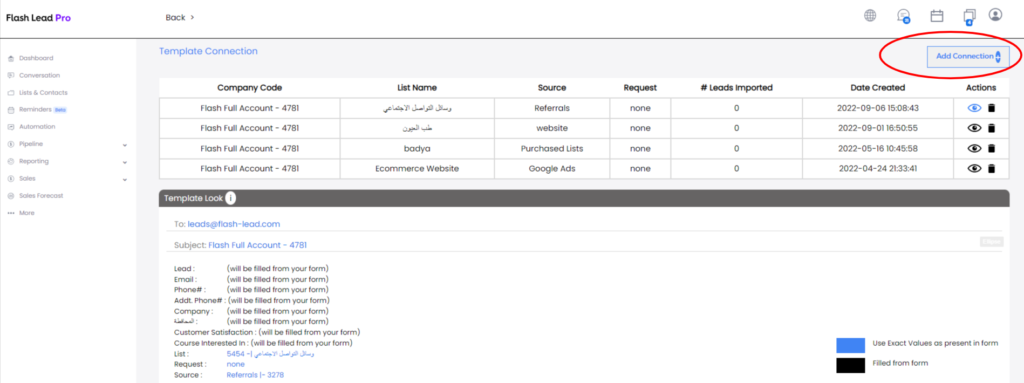
4. Choose the “List” and “Source” where the lead should be added
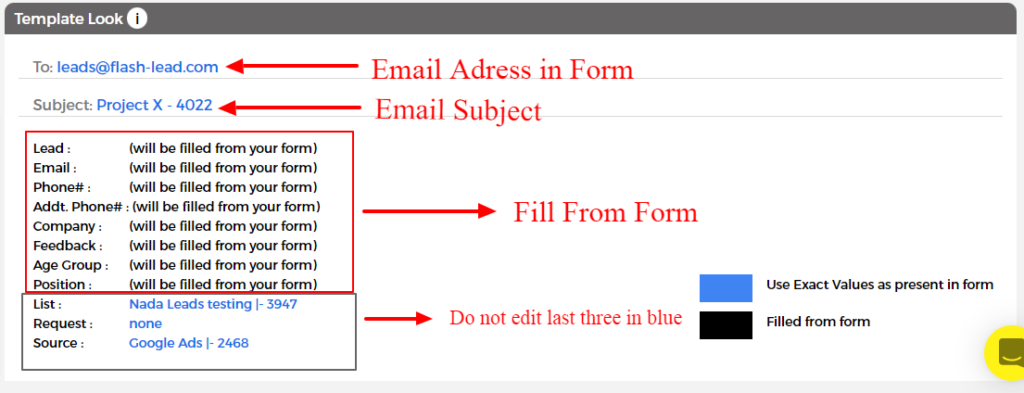
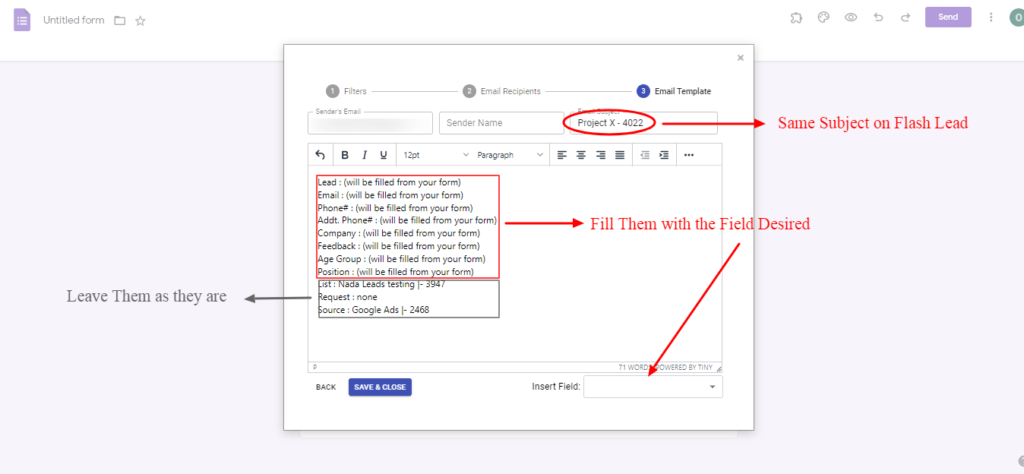
5. An e-mail template will be shown in the bottom
STEP2: Google Form Part
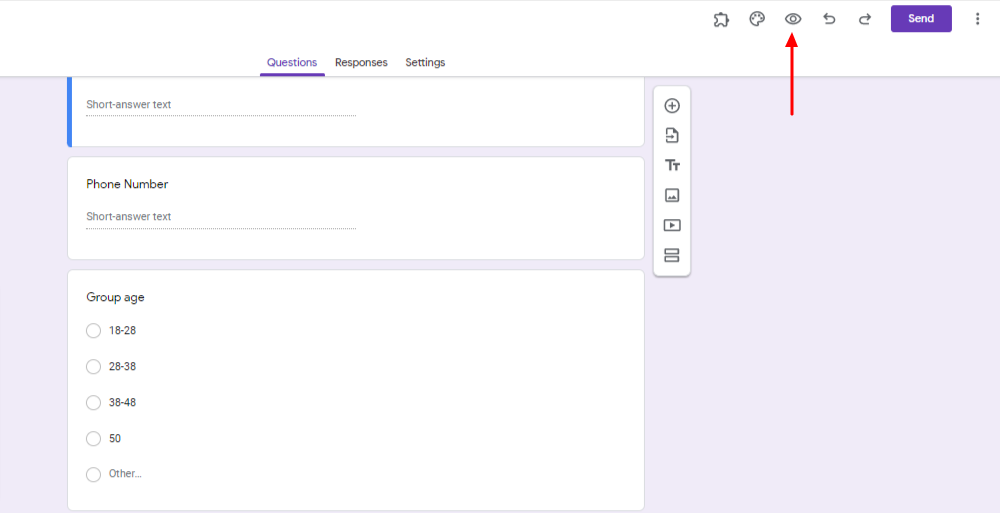
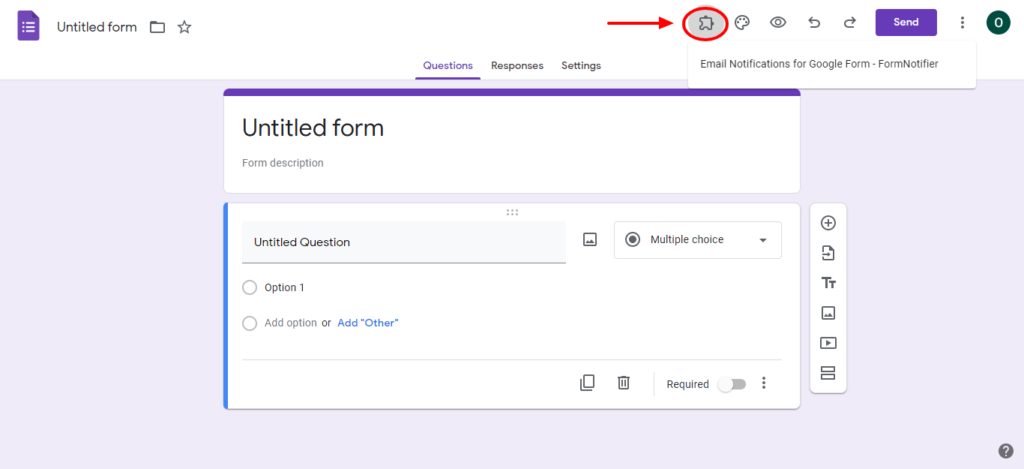
1. Go to your Google form
2. Fill Form Questions as desired
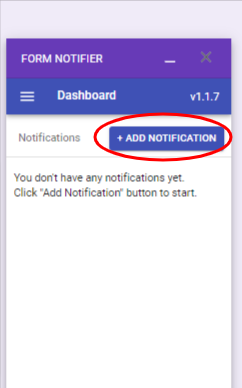
3. Choose any form notifier tool (To transform the responses into an email)
4. Press Add Notifications
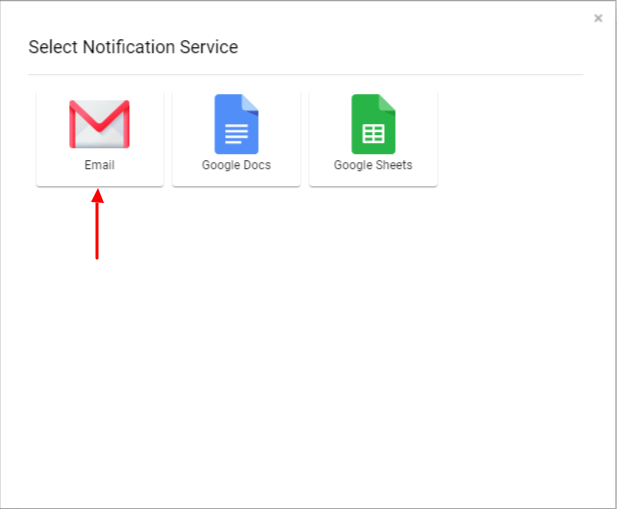
5. Select Email in the Notification Service
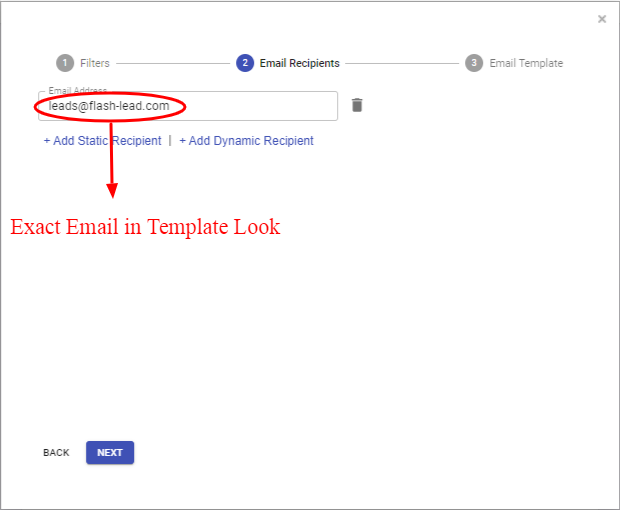
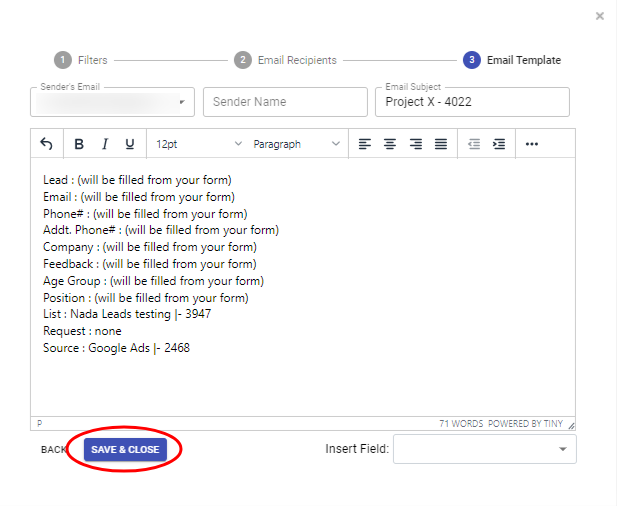
6. Customize the email that is sent through the notifier to fit the flash lead exact template. (Title & Fiel7.ds)
7. Press Save & Close
8. Fill the template and test.