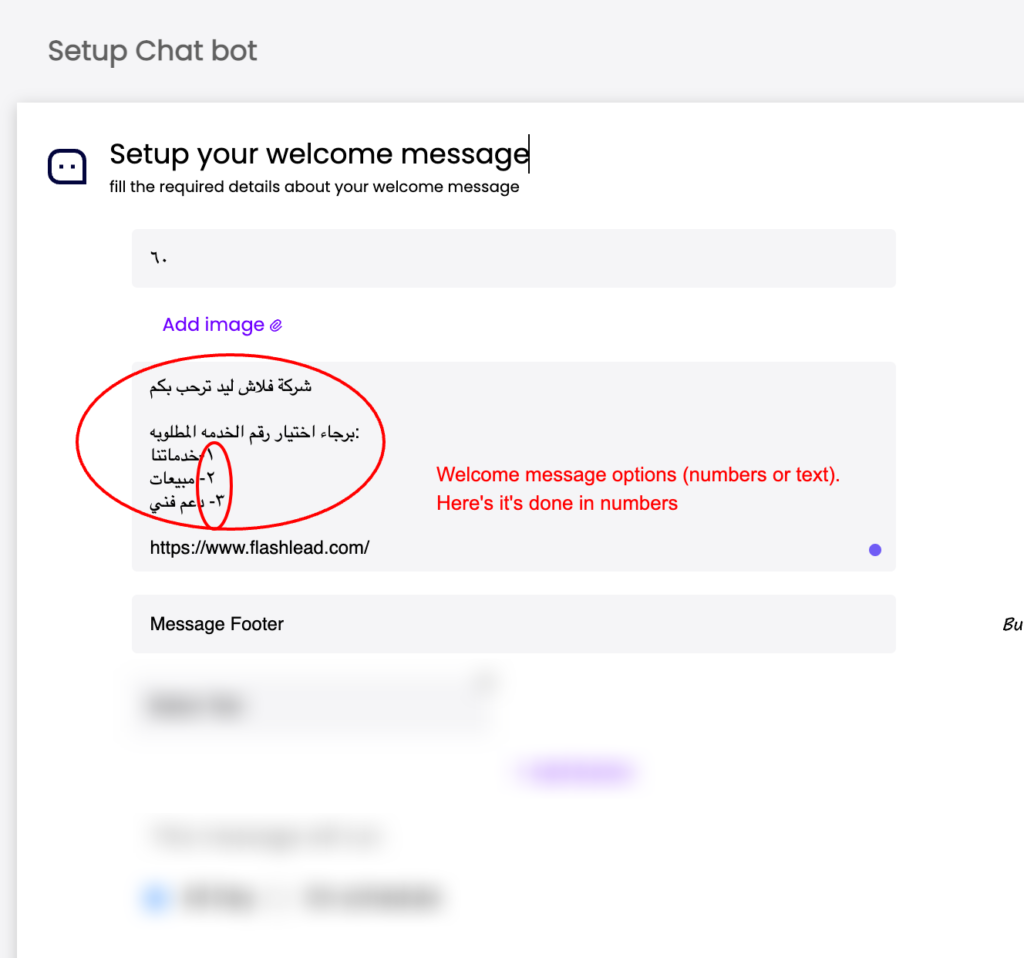
Note: You need to set your welcome message first to be able to do the chatbot with commands
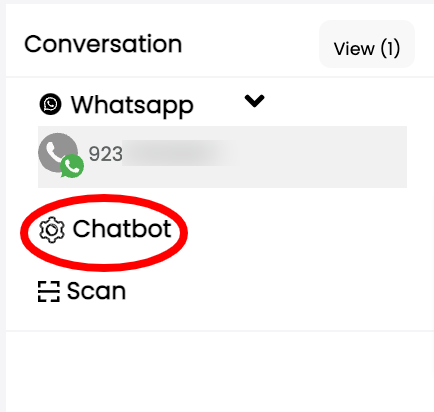
1. Go to Conversation > Click on Chatbot to open settings
2. Based on welcome message, assign the values/text in it to the appropriate next steps for the chatbot
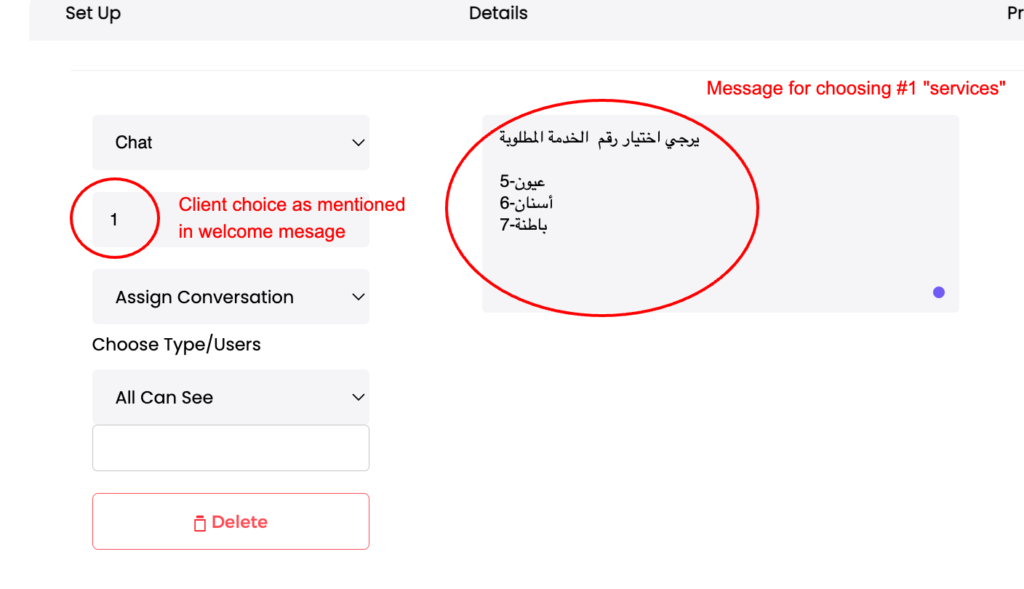
3. Assign the next steps for chatbot
Note: Make sure to not repeat the command numbers along your welcome message and chatbot
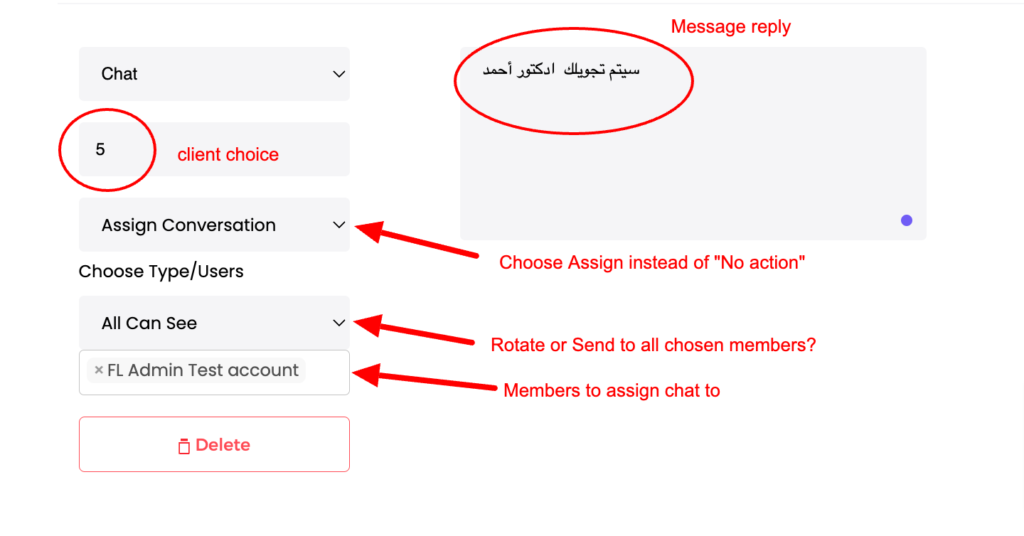
4. To assign the chat to a team member based on client choice:
5. Add all your rows
6. Click Save